Cycling Tips for Beginners
Tips to prepare for your first multi-day trail ride…
In military terms, basic training teaches new recruits how the army works. Young soldiers learn survival and fieldcraft skills, first aid, and how to use a rifle. Plus, they work on their health and fitness levels.
Basic training to help you prepare for your first multi-day cycling mission on the Otago trails is kind of similar… although it’s probably best if we swap out the rifle for a bicycle!
One of the joys of the Otago Trails is that you don’t need to be an Olympic athlete to enjoy riding them, and with the dawn of e-bikes the trails have become even more accessible to a wider demographic thanks to motor-assisted pedalling.
But despite the generally flat, well graded trails or the support of an e-bike, you’re still likely to be in the saddle for 3-5 hours regardless of whether you’re embarking on a multi-day ride like the Rail Trail, or a day ride in Queenstown or through the Roxburgh Gorge.
Heading into a multi-day cycling tour straight from the couch is not ideal preparation. So here are a few tips and tricks to help prepare and make your trip as comfortable and fun as possible.
But just to be clear, unlike the army, this is not a boot camp!
1. Look after your butt!
Invest in some good quality cycling shorts with a synthetic, padded (chamois) insert. After a long day in the saddle, your butt will thank you! Not only do good shorts provide a more comfortable ride, but they also stop chaffing and can minimise saddle sores. If you’re undertaking a multi-day trip, then buying two pairs is a good idea so that you can alternate and have a clean, dry pair of shorts to wear each day.
Top Tip: DO NOT wear underwear with your bike shorts! Cycle shorts are designed to be a snug fit which minimises rubbing and by wearing undies you’ll increase the chance of chaffing, particularly where the seams rub – which is usually in the most sensitive of places! If the Lycra-look is not to your taste, there are lots of different styles of shorts available which incorporate more ‘café-friendly’ baggy shorts which can be worn over Lycra.
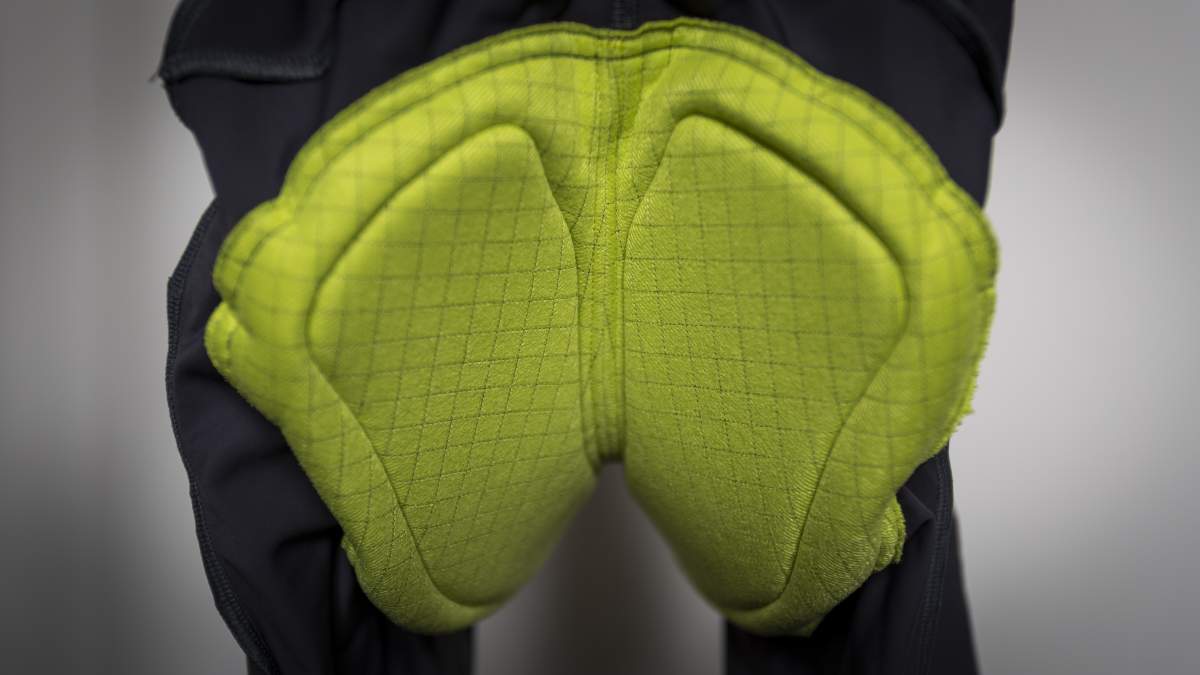
Butt management - a good pair of cycle shorts with a padded chamois are essential for a comfortable ride.
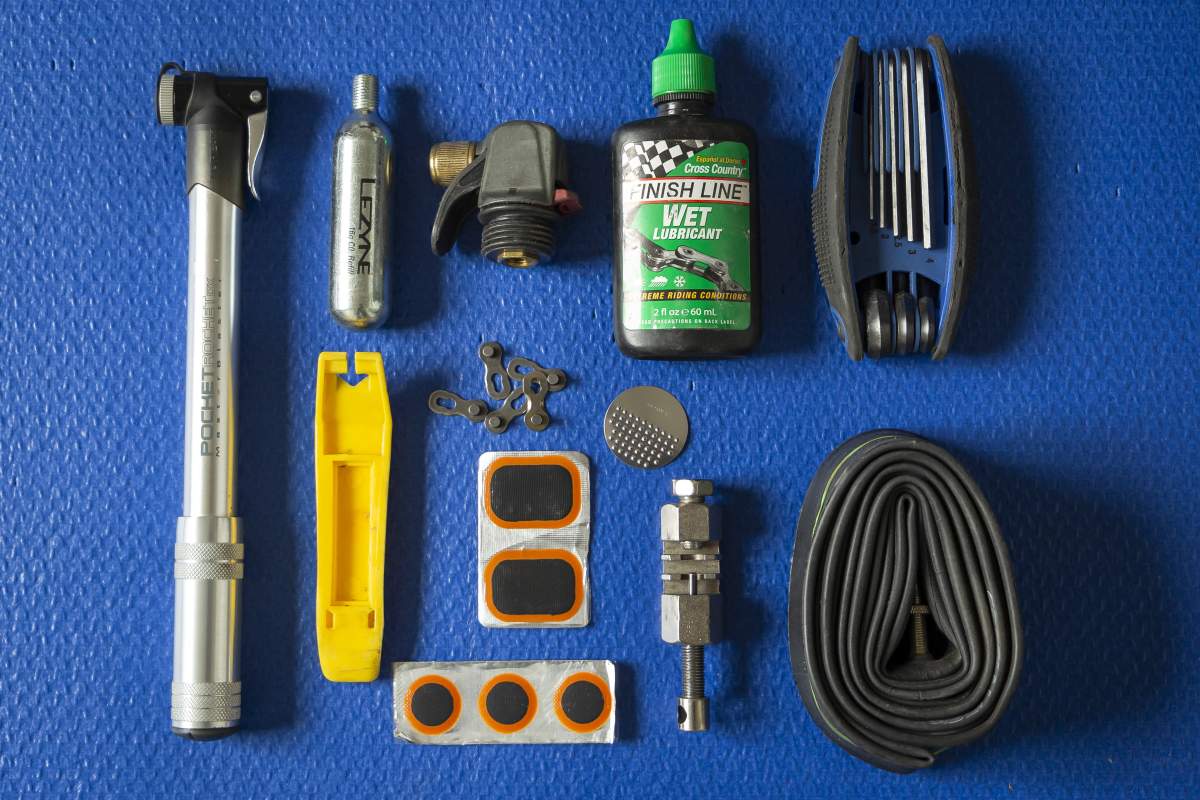
Got the gear, but no idea? Familiarise yourself with a basic bike toolkit. Do you know how to use all these essential items?
2. Learn your ABCs
Just like at kindergarten, cycle schooling means learning your ABCs (Air, Brakes, Chain), the basics of good bike maintenance - and checking your bike before every ride! Make sure you carry a basic toolkit and pump or ensure that at least one member of your group has tools and spare inner tubes.
- Check that there is sufficient air pressure in your tyres. This will vary depending on the tyre, style of bike, terrain and even weather.
- Make sure that your brakes are functioning effectively. This includes checking that they slow and stop the bike, but also making sure that the brakes are not rubbing on the wheel rim or rotor disc – the extra resistance of a rubbing brake makes it much harder to pedal. What’s more, it can also be very noisy and annoying on a long ride.
- Make sure that your chain is clean and lubricated, including rear cassette, front ring(s) and derailleur pulley wheels. Keeping the bike’s ‘drive-chain’ in good condition is essential.
Many of Otago’s trails pass through remote areas and if you’re riding independently, you’ll need some basic mechanical skills in addition to your cycle ABCs. At a minimum it’s a good idea to know how to:
- Fix a puncture and/or change an inner tube and check tyre pressures.
- Clean and lube a chain, replace a dropped chain (one that’s slipped off the cogs), and even know how to fix / replace a broken chain link.
- Check and adjust the brakes.
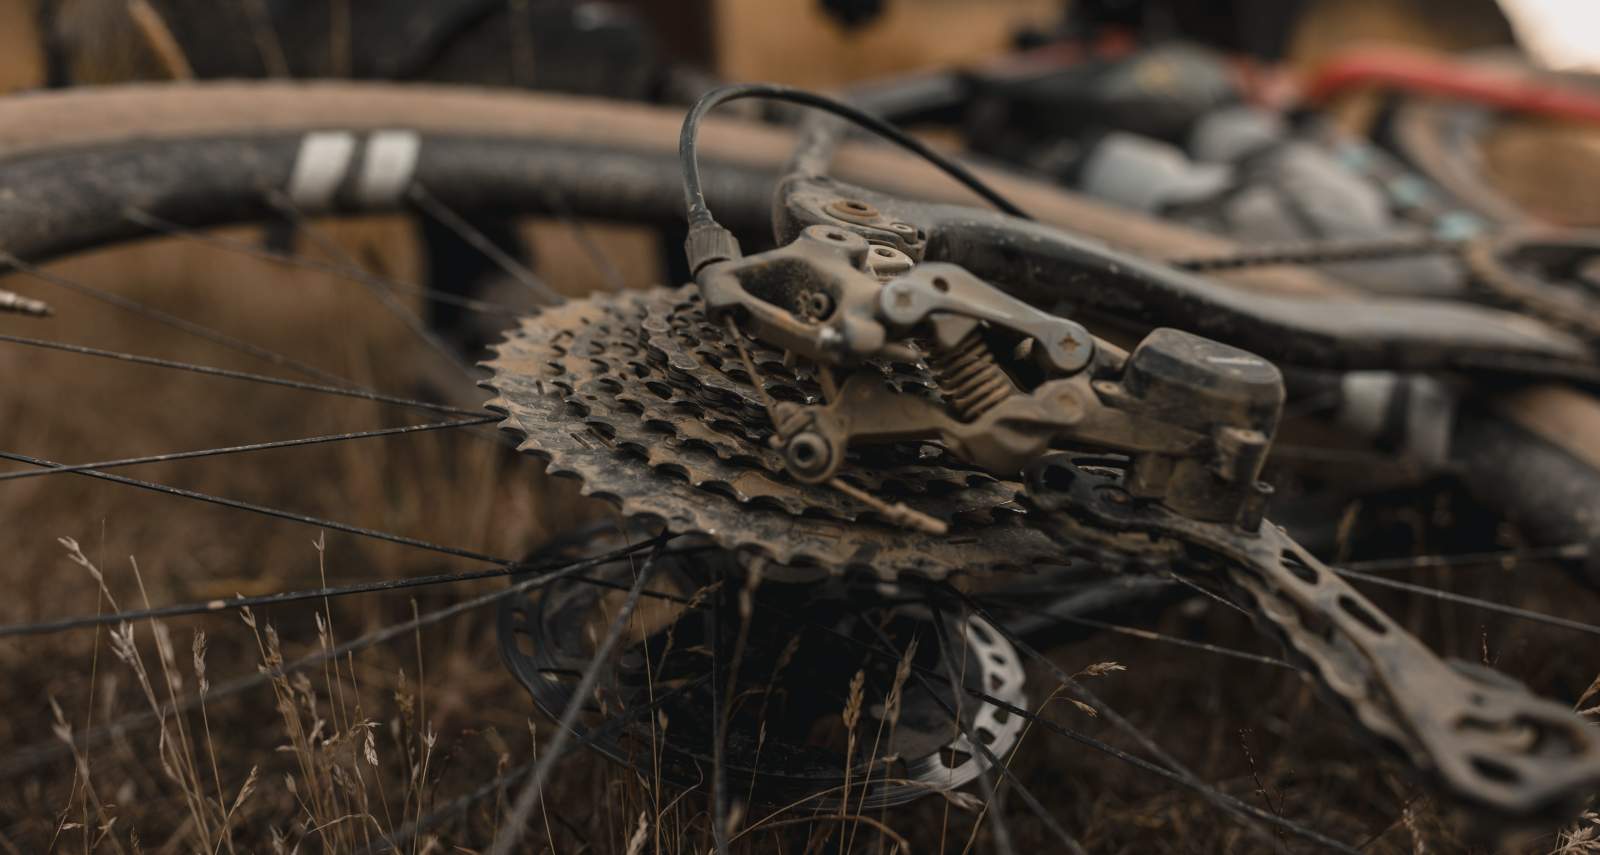
Otago has a very dry climate which can make the trails dusty. Knowing how to clean and lube your chain is essential.
3. E-Bike Batteries - it’s not only tyres that can get flat!
Understand the range of your battery and how its range can vary based on different settings. Riding in ‘turbo’ or ‘sport’ mode will drain the battery more quickly than a more economical setting. Know how far you plan to ride each day and whether you’ll need to stop and recharge your battery.
Check that you can recharge your battery at the end of the day at your accommodation or at a specific point along your route if you plan to ride further than the battery’s range.
Whilst e-bikes can be ridden with a flat battery, they’re much heavier than regular bikes and so be prepared to push up the hills if you run out of juice!
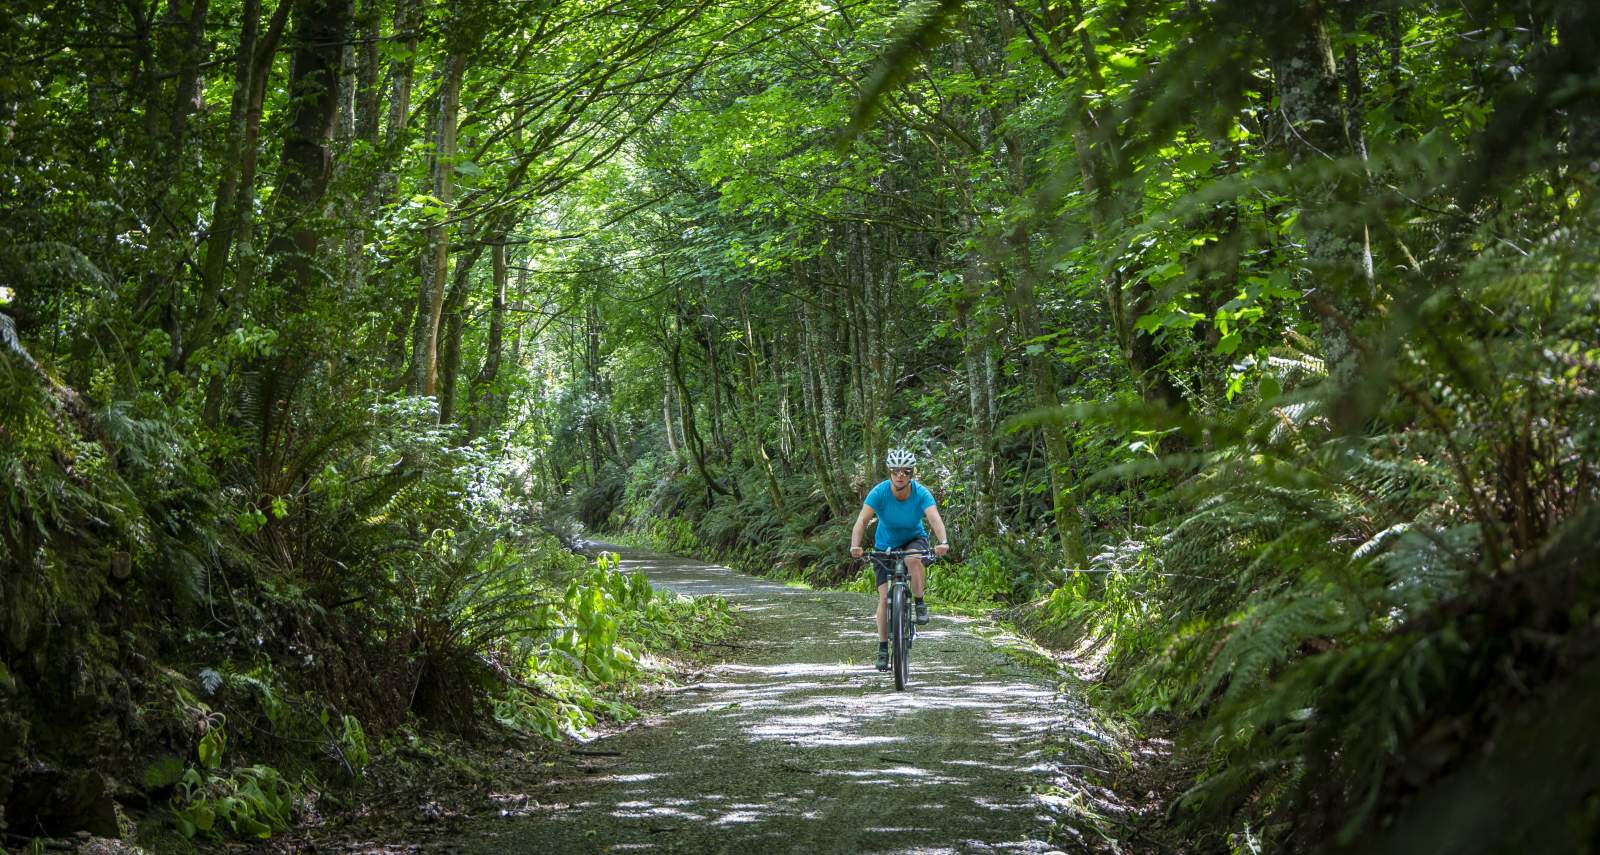
With some practice, fitness and a good understanding of your bike ABCs, then you'll be prepared to explore over 500kms of Otago's Great Rides!
4. Training for your Ride
If you have a bike at home, then take it for a ride!
The more time you can spend in the saddle before your cycle holiday the better. You’ll be fitter and, with a trail toughened tush, you’ll be able to ride longer distances more easily without becoming uncomfortable. You’ll also be more confident on the bike. All of this will make your trip infinitely more enjoyable.
If your bicycle hasn’t been out of the garage for a wee while, then taking it for a service at your local bike shop will be essential. At the same time get a proper bike fit to make sure that the seat and handlebars (bike geometry) are set up correctly for your height and style of riding. This can help minimise the risk of injuries. For example, many people new to cycling often ride with their seat too low which can cause unnecessary pressure on the knees.
If it’s been a few moons between bike rides, then begin training slowly, and build up the distance and amount of time you ride incrementally over about 6-weeks leading up to your trip (but the more time you can allow for training the better). If you’re starting from scratch, look at riding for just 10-20 minutes to familiarise yourself with the bike and then progressively make your rides a bit longer each week, perhaps 10-15% more depending on how you feel. If you can build up to 60-90mins or more of continuous riding before embarking on your cycling holiday, it will make all the difference. Bear in mind that whilst you might be riding for 3-5 hours per day, you’ll be stopping regularly at cafes and points of interest along the way to have a break and relax…. Like we said, this isn’t a boot camp!
Without getting too technical, try and learn how to ‘spin’ when riding your bike. Spinning refers to your pedalling cadence, i.e. the speed at which you turn the pedals (measured in revolutions per minute or RPM). A higher cadence is generally recommended and is more sustainable for longer rides versus a lower cadence where it might feel like you’re having to push hard through each pedal rotation using lots of muscle power. Spinning should feel like you could maintain the same pace for a decent amount of time, and with some gentle-moderate resistance to push against. It shouldn’t feel like you’re pedalling against fresh air in a super easy gear as this is not efficient, and you’ll get nowhere fast!
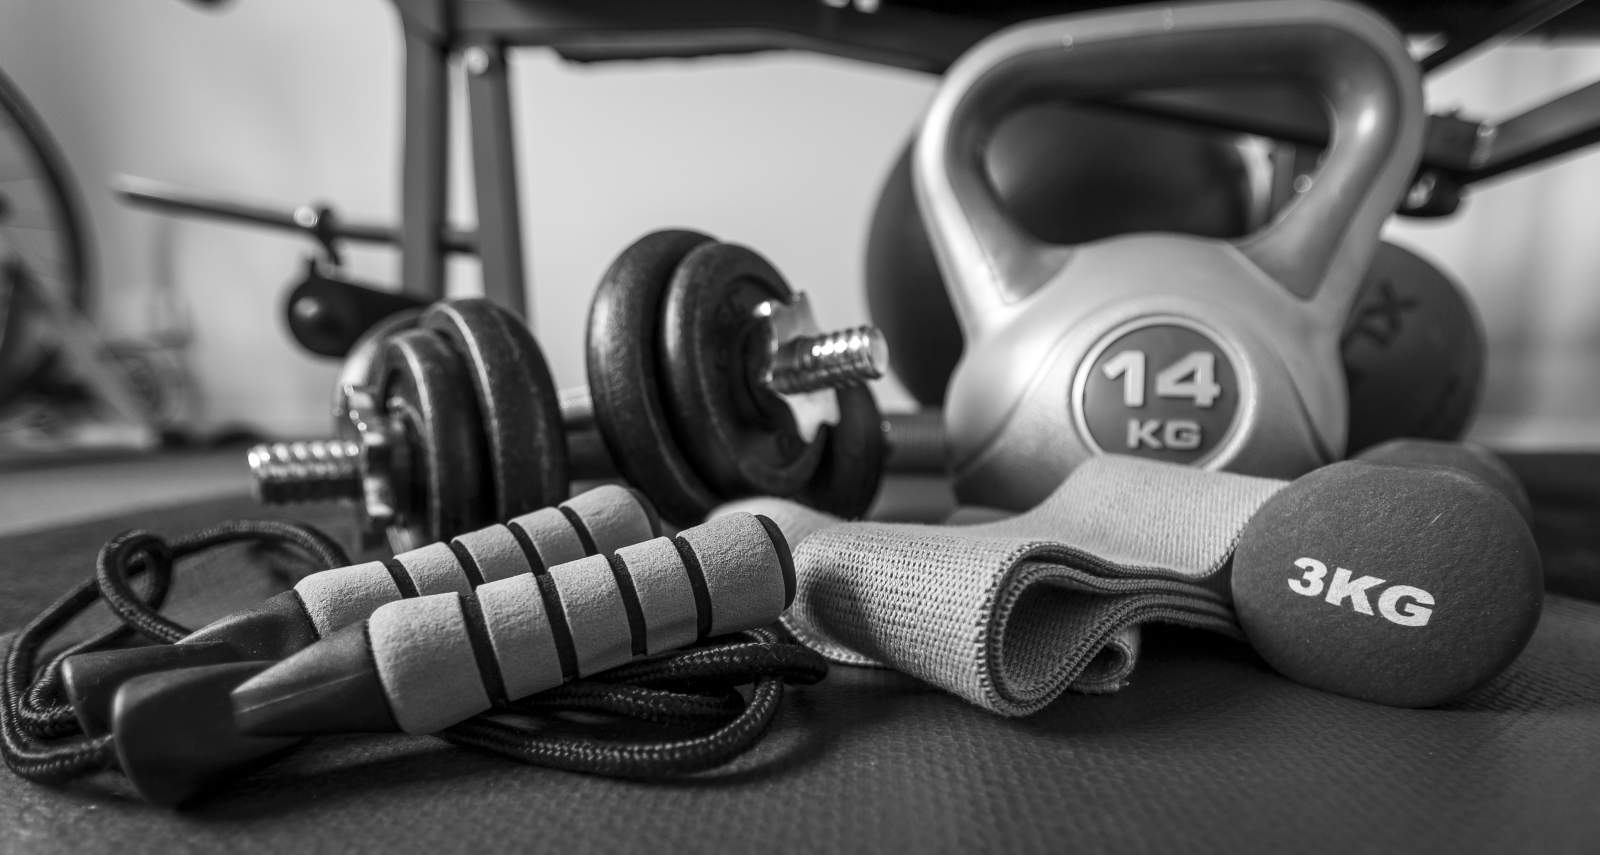
You won't need this gym equipment to train for your first multi-day ride, honest!
Try and ride about 3-times per week allowing for days off in between to rest or ‘cross train’. Cross training could be going to your local gym for an exercise class or to lift weights but can also be as simple as going for a brisk walk or finding a long flight of stairs to climb up and down. Even doing some gentle exercises at home will help. A quick Google search will result in pages of online tutorials and videos to help.
5. Fuelling Up
One of the best things about a cycling trip is that you can eat and drink whatever you like without feeling guilty! More to the point, it’s important to make sure you stop regularly to keep hydrated and top up your energy levels.
Although you’ll find cafes, country pubs and stores at regular intervals along the trails, some trails do traverse longer or remote sections where you’ll need to make sure you have sufficient water and snacks. Otago summers can be extremely hot and dry and so it’s advisable to carry at least 2litres of water per person. Adding some electrolytes to your drink bottle is also recommended in the summer. Brands like Horley’s Replace or PURE Sports Nutrition are available at most supermarkets and the electrolytes come in a powder which you just mix into your water bottle.
Oh, and whilst the Rail Trail is affectionately known as the “Ale Trail” because there’s a country pub situated roughly every 15km or so, beer and wine are not renowned for their performance enhancing properties, so moderation is the name of the game if you’re intending to ride after that long pub lunch.
Most supermarkets now stock a wide range of sports nutrition, including electrolytes for water bottles.
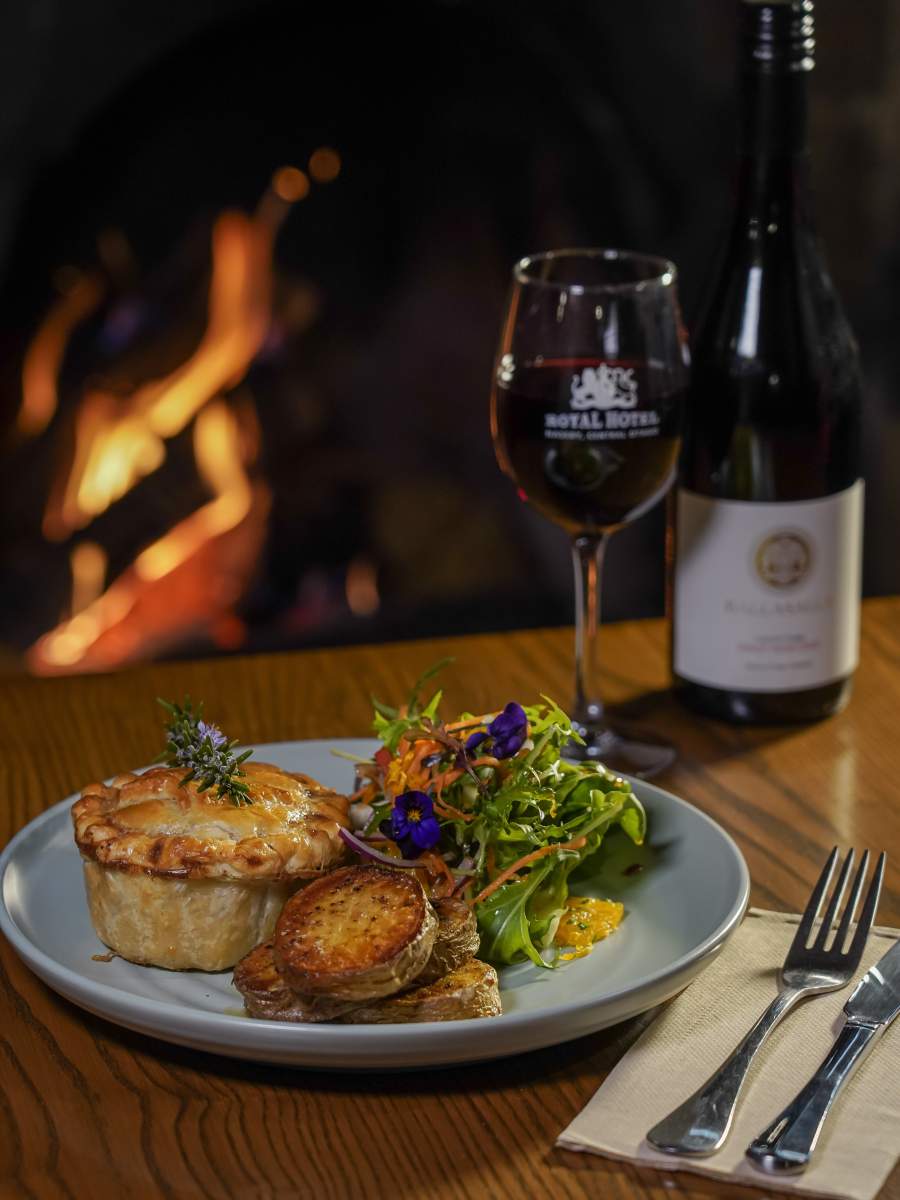
There's no shortage of fantastic food & wine on offer along the trails. [Photo: Royal Hotel, Naseby]
6. Remember the Six P’s
Proper Prior Planning Prevents Poor Performance
It might seem obvious that you should plan bike ride in advance, especially multiday trips, but often vital components of preparation are overlooked. You’ll need to properly plan and understand your route considering things like how far you will be riding, how difficult is the trail (grade), where there are shops and services along the way, the availability of potable water along the trail, the weather forecast and what should you take with you, what to do in an emergency or is there phone coverage along the way?
Understanding good trail etiquette will also be appreciated by your fellow trail users.
Ngā Haerenga New Zealand Cycle Trails has a useful set of guides to help you plan, including what to pack.

A quick Google search will help you find lots of online beginner’s guides to cycling, from training tips to nutrition and bike maintenance. Talking to your local bike shop or cycle tour operator for help and advice is another great option or joining a local cycling group like Recreational Cycling on Facebook.
To get you started on your journey below is a useful link to 25 tips for beginners.

Related Stories
-

Clutha Gold Trail Beginners Guide
A beginners guide to the Clutha Gold Trail
Read more about Clutha Gold Trail Beginners Guide -

Beginners Guide to Queenstown Trails
A beginner's guide to biking the Queenstown Trails
Read more about Beginners Guide to Queenstown Trails -

Beginners Guide to the Otago Central Rail Trail
A beginner's guide to the Otago Central Rail Trail
Read more about Beginners Guide to the Otago Central Rail Trail -

Don't just ride - play bike!
If we play sports, then why don't we "play bike"?
Read more about Don't just ride - play bike!


